How to Change Printer’s IP Address: Step-by-Step Guide
To change a printer’s IP address, access the printer’s settings via its control panel or web interface. Locate the network settings and modify the IP address accordingly.
Changing a printer’s IP address is a straightforward task that can solve various network issues. It enables better network management and can help in resolving IP conflicts. Most printers allow you to change the IP address through their control panel or by accessing the printer’s web interface from a computer.
Understanding how to navigate these settings is crucial for both home and office environments. This guide will provide you with the essential steps to efficiently change your printer’s IP address, ensuring seamless network connectivity and improved device performance.
Preliminary Checks
Before changing your printer’s IP address, perform a few preliminary checks. These steps ensure a smooth process. This guide covers essential checks.
Verify Printer’s Network Connection
First, make sure your printer is connected to the network. Check the printer’s display screen. Look for network status or connectivity information.
Alternatively, you can use the printer’s manual. Follow the instructions to verify network connection.
Check Current Ip Address
Next, find the current IP address of your printer. This is crucial for making changes.
You can usually find this in the printer’s settings menu. Navigate to network settings or similar options.
If unsure, refer to the user manual. It will guide you to find the IP address.
| Step | Action |
|---|---|
| 1 | Open printer settings |
| 2 | Select network settings |
| 3 | Find current IP address |
- Ensure printer is on the same network as your computer.
- Check for any connection issues.
- Note down the current IP address for reference.
Performing these checks ensures a seamless IP address change. Follow these steps carefully.
Credit: answers.microsoft.com
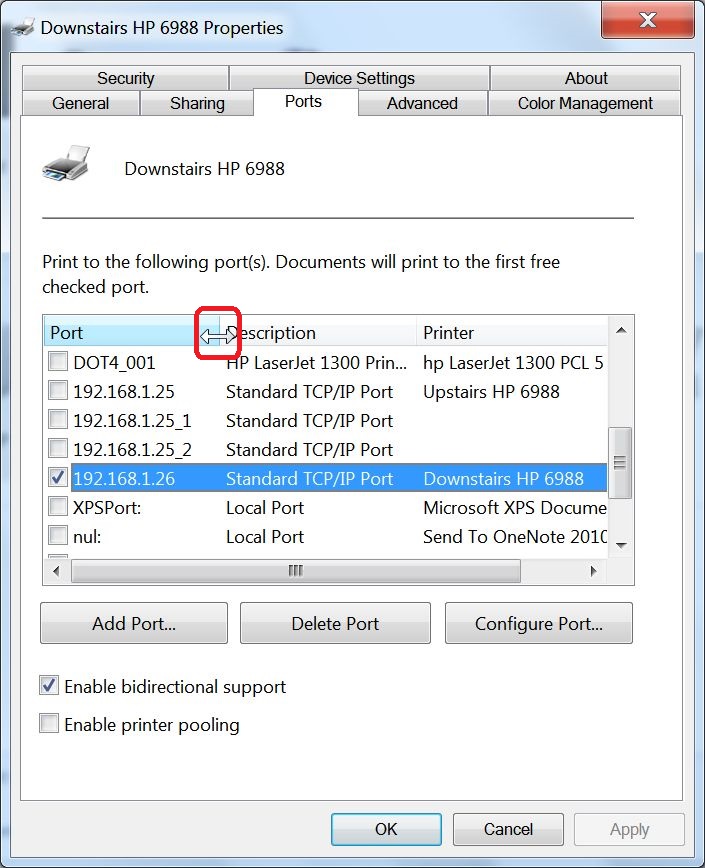
Accessing Printer Settings
Changing your printer’s IP address starts with accessing its settings. This can be done in a few different ways. Two common methods are using the printer’s control panel or its web interface. Both methods are easy to follow. Let’s dive into each method step-by-step.
Using Control Panel
Accessing the printer settings through the control panel is simple. Follow these steps:
- Turn on your printer and make sure it is connected to your network.
- Locate the menu button on your printer’s control panel.
- Navigate to the Network Settings or Wireless Settings option.
- Select IP Address or TCP/IP settings.
- Enter the new IP address you want to assign.
- Save the changes and restart the printer.
Your printer should now use the new IP address. This method works for most printers with a control panel.
Using Web Interface
Many modern printers offer a web interface for settings. Follow these steps to access it:
- Find the current IP address of your printer. You can usually find this on a network report printout or through the control panel.
- Open a web browser on your computer.
- Type the printer’s IP address into the browser’s address bar and press Enter.
- Log in to the printer’s web interface. Use the default credentials if you have not set a password.
- Navigate to the Network Settings section.
- Look for IP Address or TCP/IP settings.
- Enter the new IP address.
- Save the changes and restart the printer.
The printer will now use the new IP address. This method is very convenient, especially for networked printers.
Changing Ip Address Via Control Panel
Changing your printer’s IP address through the control panel is simple. Follow these steps to ensure your printer is connected to the correct network.
Navigating To Network Settings
First, access the printer’s control panel. Look for the Settings or Menu button. Press it to open the menu. Scroll through the options until you find Network Settings.
Select Network Settings by pressing the corresponding button. This will open a new list of options. Find and select IP Address or TCP/IP settings.
Entering New Ip Address
Once in the IP Address settings, you will see the current IP address. Use the keypad to delete it. Enter the new IP address you want for your printer.
Make sure the new IP address is unique and not in use. After entering the new IP address, save the changes. This usually involves pressing an OK or Save button.
Your printer will now restart or refresh. It will use the new IP address. Check the connection to ensure it works.

Credit: www.youtube.com
Changing Ip Address Via Web Interface
Changing your printer’s IP address can solve many network issues. The web interface method is often the easiest way. Follow these steps to update your printer’s IP address.
Logging Into Printer’s Web Interface
First, you need to log into your printer’s web interface. Here’s how:
- Find your printer’s current IP address. This is usually found in the printer’s settings menu.
- Open a web browser on your computer.
- Type the printer’s IP address into the browser’s address bar.
- Press Enter.
- You will see the printer’s login page.
- Enter the username and password. If you don’t know them, check the printer’s manual or ask your network admin.
Updating Ip Address
Once logged in, follow these steps to update the IP address:
- Navigate to the Network Settings or IP Configuration section.
- Look for the IP Address field.
- Enter the new IP address you want to assign.
- Double-check the subnet mask and gateway settings. They should match your network.
- Click on Save or Apply to confirm the changes.
Wait for the printer to restart. This may take a few minutes. Your printer will now have a new IP address.
To verify, print a network configuration page. This will show the new IP address.
Post-change Verification
After changing your printer’s IP address, it’s essential to verify the change. This ensures that the printer works correctly with the new IP. Follow the steps below to confirm the IP change.
Ping The New Ip Address
First, you’ll need to ping the new IP address to check connectivity. Follow these steps:
- Open the Command Prompt on your computer.
- Type
ping [new IP address]and press Enter. - Check the response. It should show successful replies from the new IP.
If you get successful replies, the new IP is active. If not, double-check the IP settings on the printer.
Print A Test Page
Next, print a test page to ensure the printer functions with the new IP.
- Go to your computer’s Control Panel.
- Navigate to Devices and Printers.
- Right-click on the printer with the new IP.
- Select Print Test Page.
If the test page prints successfully, your printer is set up correctly. If not, recheck the printer’s network settings.
Troubleshooting
Troubleshooting is essential when changing your printer’s IP address. It helps resolve any issues that may arise. This section will guide you through common problems and resetting printer settings.
Common Issues
Sometimes, changing the printer’s IP address can be tricky. Here are some common issues you might face:
- Network Connectivity: The printer may lose connection to the network.
- IP Address Conflict: Another device may have the same IP address.
- Incorrect IP Configuration: The new IP address might not be configured correctly.
- Driver Issues: The printer driver may not recognize the new IP.
To solve these issues, follow the steps below. Make sure to check each point carefully.
Resetting Printer Settings
If you encounter problems, resetting the printer settings can help. Here’s how to do it:
- Turn off the printer and unplug it from the power source.
- Wait for 30 seconds to ensure a complete reset.
- Plug the printer back in and turn it on.
- Go to the printer’s settings menu.
- Select Restore Default Settings or Factory Reset.
- Follow the on-screen instructions to complete the reset.
Resetting the settings will restore the printer to its original state. You can then reconfigure the IP address.

Credit: inception.co.uk
Frequently Asked Questions
How Do I Change A Printers Ip Address?
Access the printer’s settings via its control panel or web interface. Locate the network settings. Change the IP address. Save the changes. Restart the printer.
How To Change Ip Address Of Hp Printer?
Go to the printer’s control panel. Select “Network Settings. ” Choose “IP Address. ” Enter the new IP address. Save changes.
How Do I Find My Printers Ip Address?
To find your printer’s IP address, check the printer’s display screen or print a network configuration page. You can also access your router’s web interface and look for connected devices.
How Do I Manually Change The Ip Address On My Epson Printer?
To manually change the IP address on your Epson printer, access the printer’s control panel, navigate to network settings, select IP address setup, choose manual, and enter the new IP address. Save the settings and restart the printer.
Conclusion
Changing your printer’s IP address can solve connectivity issues. Follow the steps outlined for a seamless process. Keep your network settings updated for optimal performance. Regular maintenance ensures your printer functions smoothly. By managing IP settings, you enhance your printing experience.
Stay informed and enjoy hassle-free printing.